Manufacturing of engineering work vehicles
Engineering work vehicles refer to specially crafted or specially modified vehicles equipped with special structures, devices, and equipment for specific purposes. Commonly seen in daily life, self-unloading heavy-duty vehicles, cementing trucks, fracturing trucks, road recovery vehicles, aerial work platforms, fire trucks, concrete pump trucks, snow removal vehicles, etc., are all representative examples of large engineering vehicles.
Due to its special structure and complex operating environment, the quality requirements during the manufacturing process are extremely stringent. The manufacturing tolerances for each component are required to be within a very narrow range to ensure the smooth realization of its function and provide a solid and stable guarantee for operation.
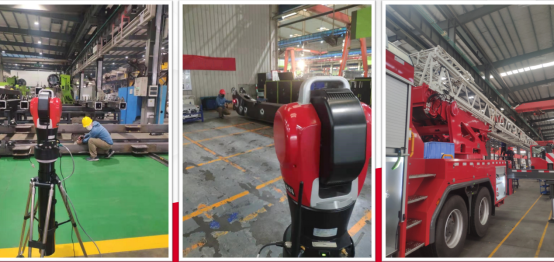
Figure 1: Structural components of engineering work vehicles (left), boom (middle), and tower (right)
Typical measurement requirements
1. Structural component measurement
Features & Keywords: Large size, high precision.
The structural components of engineering vehicles often feature large dimensions. Due to their special purposes such as load-bearing and lifting, the fit between structural components must be extremely precise. Therefore, the manufacturing accuracy of structural components is also highly demanding, typically within 0.1-0.2mm. The main focus is on key dimensions such as the distance between holes, the flatness and parallelism of various parts.
2. Measurement of boom
Features & Keywords: Large size, high precision, hinge point, coaxiality.
The boom is a crucial component of certain models of large construction vehicles, serving as the foundation for their lifting function. Large specialized vehicles with lifting capabilities, such as aerial work platforms and fire trucks, often have lifting heights ranging from several meters to tens of meters. To ensure the safety of operating personnel, the inspection requirements for components related to the lifting mechanism are extremely strict.
The key points of boom measurement lie in the position of the hinge points and the coaxiality between them. The hinge points serve as load-bearing and joint hubs, so the detection accuracy of their coaxiality is usually required to be within 0.05mm.
3. Measurement of tower
Features & Keywords: Large size, difficult to measure due to component obstruction.
Specialized engineering vehicles such as fire trucks are equipped with tower components. These tower components have a unique external structure, featuring large dimensions and numerous hollows and obstructions formed by their component combinations, which pose significant challenges for measurement operations.
API solution
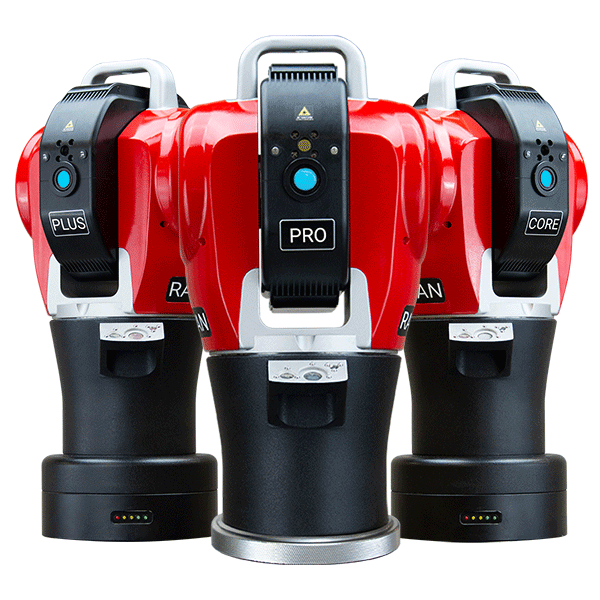
For the measurement and inspection of various links in the manufacturing of large engineering vehicles, the use of API brand Radian laser tracker, coupled with corresponding functional expansion accessories, can meet the above requirements.
The Radian laser tracker is an excellent solution for large-scale precision measurement, boasting micron (μm) level measurement accuracy and a measurement range of up to 160 meters. It can provide precise measurement support for all aspects of the manufacturing of large-scale special operation vehicles.
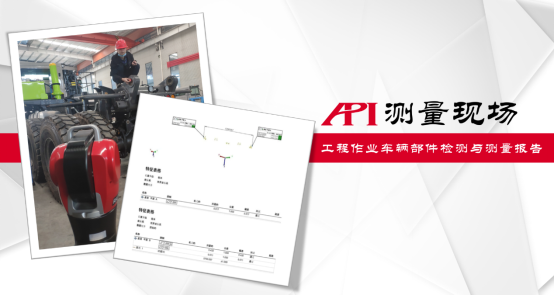
Figure 2: Inspection & Measurement Report of Structural Components of Large Engineering Vehicles Using Radian Laser Tracker
1. Measurement of structural components
First, set up the Radian laser tracker at a suitable location next to the workpiece to be measured, connect it to a laptop, and run the measurement software. Then, you can start the measurement.
When conducting structural component measurements, the operator holds the laser tracker target ball (SMR) with an embedded prism and touches the part to be measured. The main unit of the laser tracker emits a laser beam to lock onto and track the center of the SMR ball. When the SMR touches the part, it precisely acquires the 3D coordinates of the measured point at a sampling rate of 1000Hz and transmits them to the measurement software for recording and saving. After collecting several such target points on the workpiece, corresponding lines, surfaces, and volumes can be formed in the software based on the positions of each point, and the corresponding geometric tolerance data can be calculated. It is also possible to compare with digital models, thus achieving the purpose of measurement and inspection.
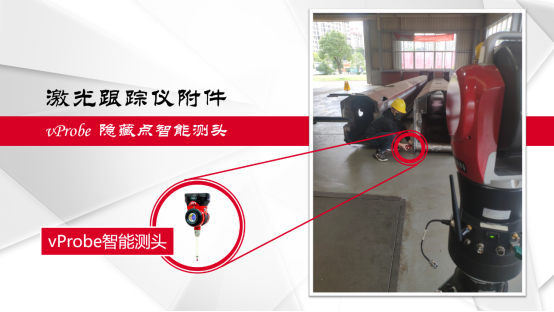
Figure 3: Radian laser tracker + vProbe hidden point intelligent probe in the inspection of the arm of a large engineering vehicle during operation
2. Measurement of boom
Similar to the measurement of structural components, after setting up the laser tracker, use the SMR to perform point sampling measurements at each position to be measured at the hinge point and feed them back to the software for analysis and comparison of coaxiality.
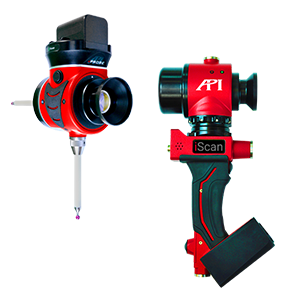
It is worth noting that during the measurement of the boom hinge point, due to the shape characteristics of the components, situations such as laser obstruction and the need to measure the interior of deep holes often arise. If only SMR is used, it will be difficult to achieve the measurement of these hidden parts and deep holes. At this time, the vProbe hidden point intelligent probe can be used to expand the deep hole and hidden point measurement capabilities of the laser tracker.
The vProbe host also features a laser receiving device similar to a standard SMR. Simply connect it to a laser tracker, and you can use the vProbe's ruby probe to penetrate deep holes and concealed spots for precise data collection, effortlessly solving measurement challenges in hidden areas of the workpiece.
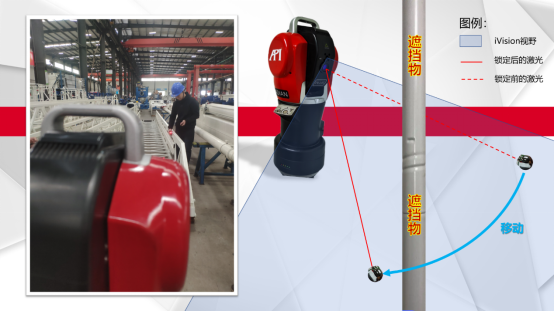
Figure 4: Radian laser tracker tower measurement operation (left) and iVision function schematic (right)
3. Measurement of tower frame
The tower components have a relatively special external structure. While they are characterized by large dimensions, the combination of their components forms many hollows and obstructions, which can easily block the laser beam when using a laser tracker for measurement, making the measurement task more difficult.
The Radian laser tracker is integrated with the iVision smart camera, which, through its Autolock function, can automatically search for and quickly lock onto the target ball at the point where the laser is interrupted, ensuring smooth measurement operations and allowing the operator to focus on the measurement task itself.
summary
The Radian series laser tracker from the API brand, with its ultra-high precision (μm, 0.001mm), can fully meet the accuracy requirements of typically 0.1-0.2mm and up to 0.05mm in various stages of large engineering vehicle manufacturing. The vProbe hidden-point intelligent probe attachment and the iVision intelligent camera assistance system also greatly facilitate the operator's use, making human-machine interaction more friendly and measurement operations more flexible and convenient.

Figure 5: API Company Headquarters Building
Regarding API
The API brand was founded by Dr. Kam Lau in Rockville, Maryland, USA, in 1987. It is the inventor of laser trackers and holds multiple patents for world-leading measurement technologies, making it a leader in the field of precision measurement technology. Since its inception, API has been committed to the research, development, and production of precision measuring instruments and high-performance sensors for the mechanical manufacturing industry. Its products have been widely used in advanced manufacturing sectors around the world and are at the forefront of high-precision standards for coordinate measurement and machine tool performance testing.
相关新闻:
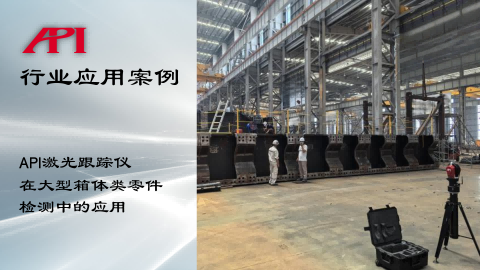
API laser tracker for large box-type parts Applications in Detection
Customer BackgroundA heavy industry enterprise in East China, primarily engaged
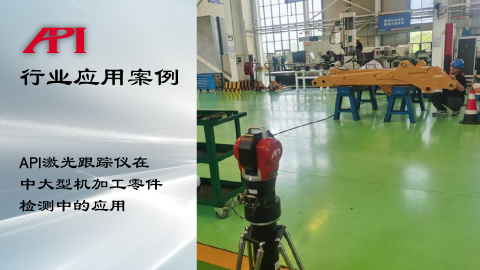
API laser tracker is Application in the Inspection of Medium and Large Machined Parts
Project BackgroundClient Company: A large manufacturing enterprise;Industry: Hig
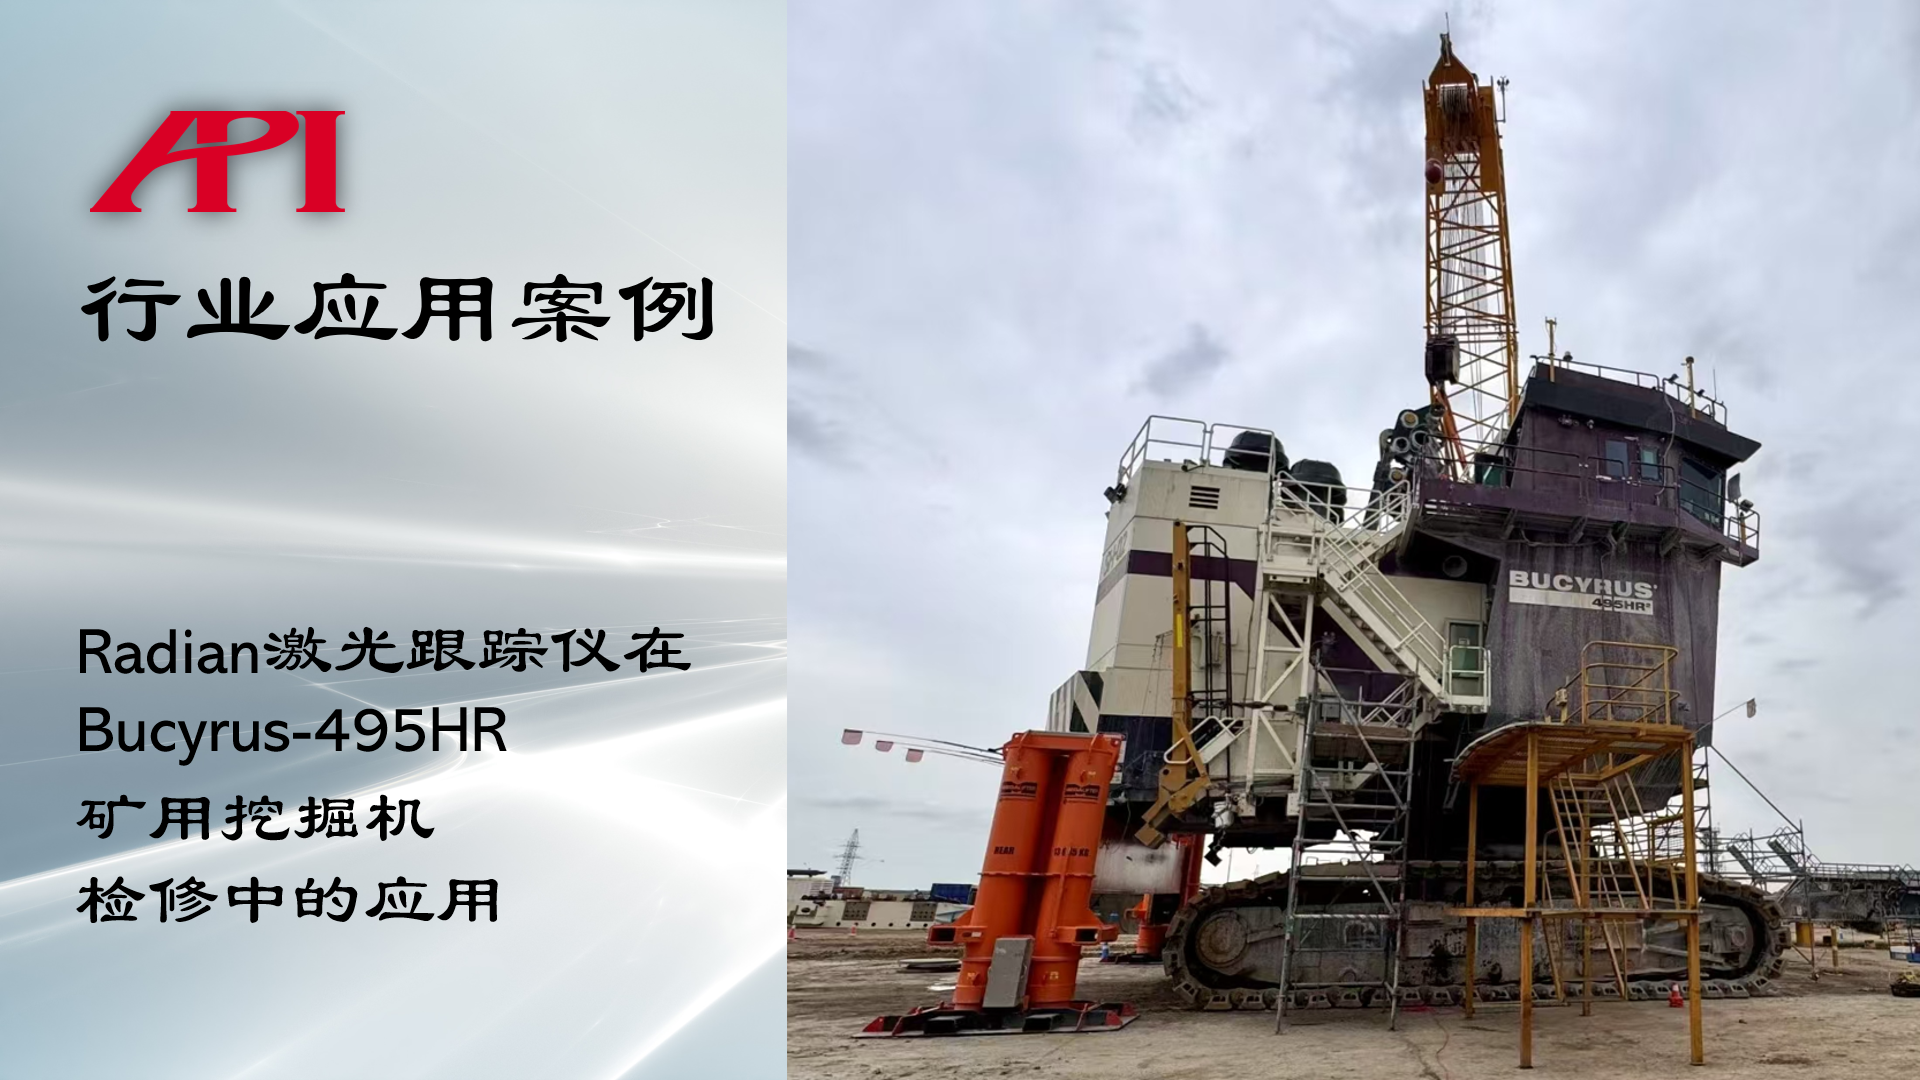
Radian laser tracker at Bucyrus 495HR Application of Mining Excavator Maintenance
Overview of Bucyrus 495HR Mining Excavator and Maintenance The Bucyrus 495HR min
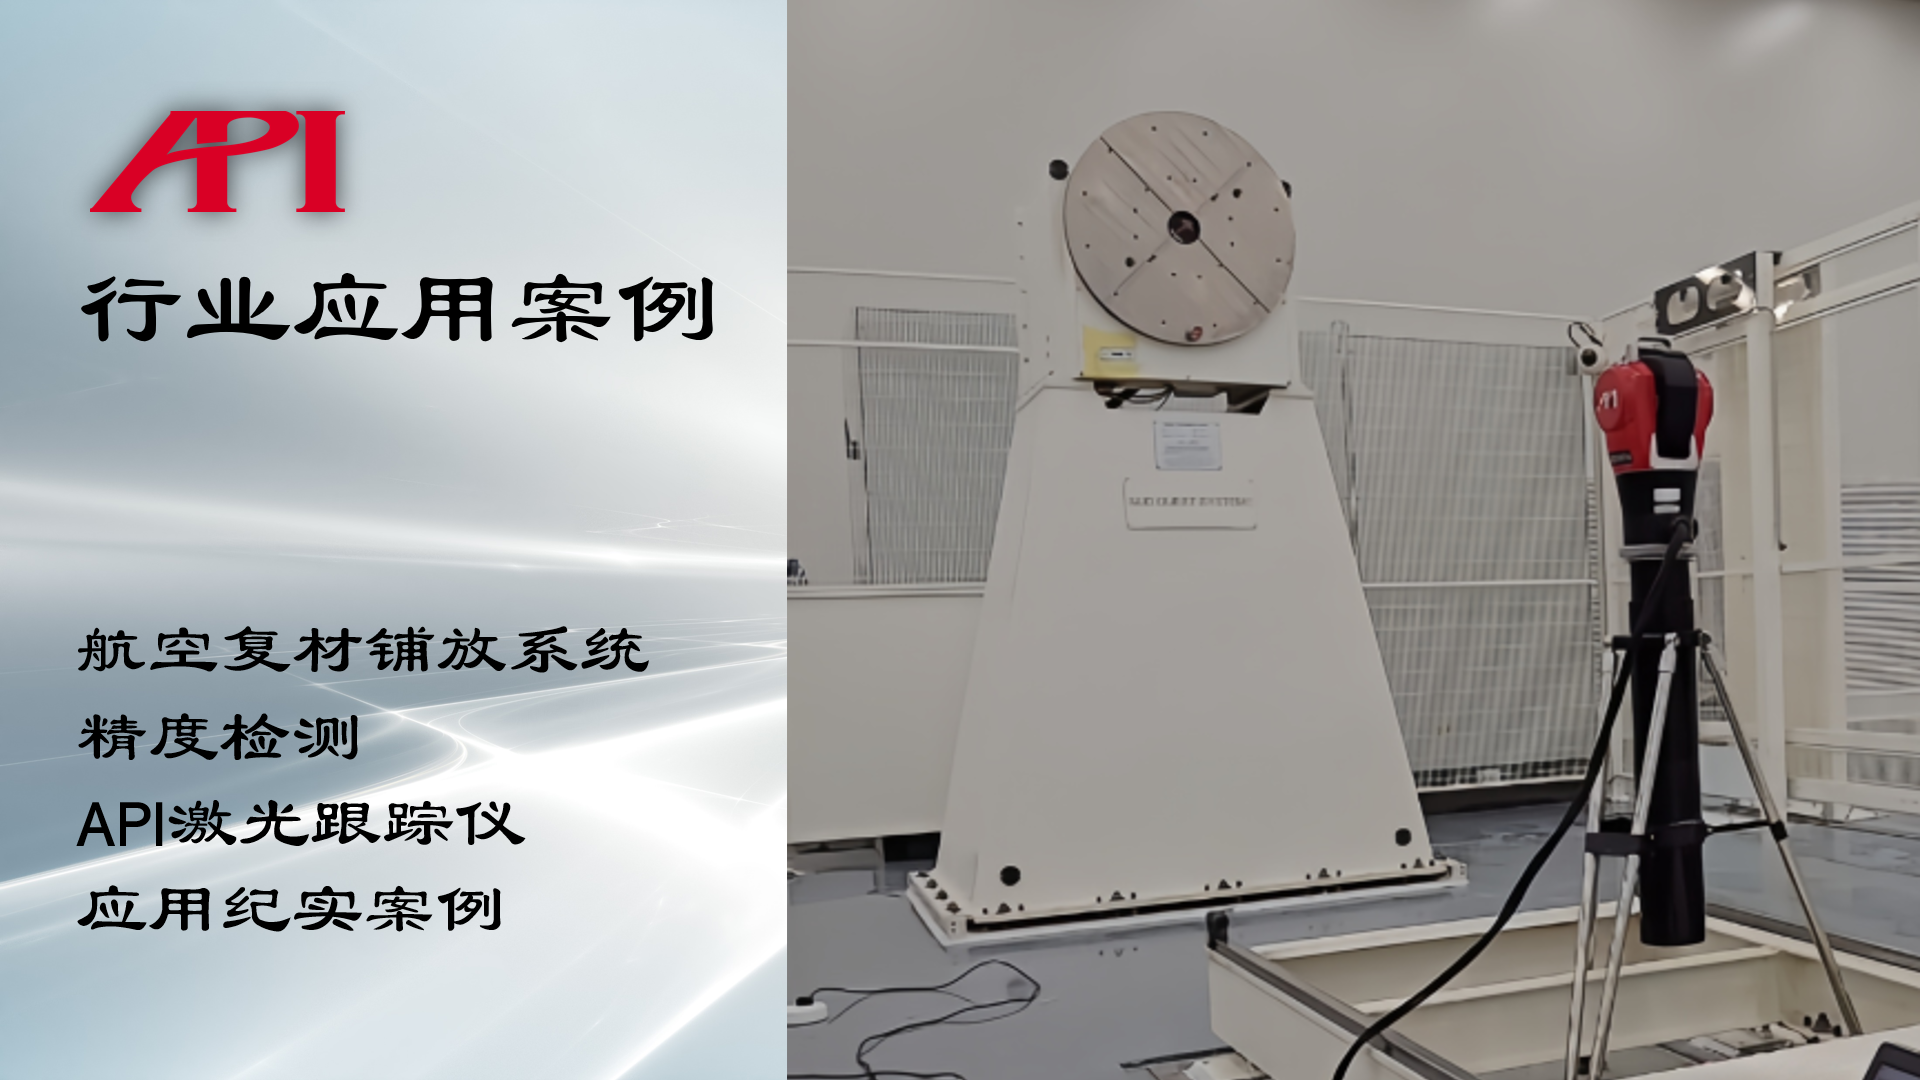
Aerospace Composite Material Laying System Precision Detection Radian Laser Tracker Application Cas
About Aerospace Composite MaterialsAerospace composite materials are primarily u
Learn More:
激光跟踪仪靶球&测头
Maximize laser tracker productivity with hand held and 激光跟踪仪主动靶标.
Learn More /laser-tracker-targets

XD Laser CMM Calibration
The XD Laser is the only assessment system that can measure all 6 error parameters simultaneously in a single set-up
Learn More /xd-laser

API Reverse Engineering Service
Reverse engineering services include scan as-built parts to creation of a 3D digital point cloud and CAD Model.
Learn More /reverse-engineering/


 +86 10 59796858
